Organizing and Storing Breast Milk: Essential Tips
As referred to “liquid gold” by many, breast milk offers your baby beyond essential nutrition. It is beneficial both for the mother and child. From boosting your child’s intelligence to protecting them from common allergies and illnesses, thanks to the antibodies present. Although breastfeeding is great, you don’t have to deny your baby the benefits of breast milk if you’re unable to. And that’s where pumping breast milk comes in.
One crucial factor in pumping breast milk is storage. How do you store breast milk to ensure safety and peak quality for your little one? what‘s the best way to organize your freezer to maximize space? Stay tuned.

CDC Guidelines On Storing Breast Milk
There are a lot of breast milk storage ideas, hacks, solutions, and tips out there. However, sticking to science-based guidelines ensures your breast milk is safe and retains its nutrients for optimal growth and development. The Center for Disease Control and Prevention recommends:
- Storing freshly pumped breast milk at room temperature (60 to 77 degrees Fahrenheit) for four hours.
- Storing freshly pumped breast milk in the fridge (39 degrees Fahrenheit or lower) for three days.
- Storing freshly pumped breast milk in the freezer (0 degrees or colder) for six months. Although there are conflicting guidelines, it’s safe to store breast milk for one year.
When preparing frozen milk, thaw it at room temperature for two hours. Or you can thaw it in the fridge for 24 hours. Never refreeze frozen milk to avoid contaminating it and damaging the milk’s nutrients and proteins. Be careful with measurements; otherwise, you risk wasting the nourishing liquid gold.
How To Organize Breast Milk In Freezer
Pumping and storing breast milk may require more space in your freezer, especially if you’re a first-time mom. It’s crucial to organize your freezer such that you know the date every milk was pumped and how soon you need to use them before expiry. Here’s a how-to organize breast milk in a freezer like the pro that you’re:
Transfering
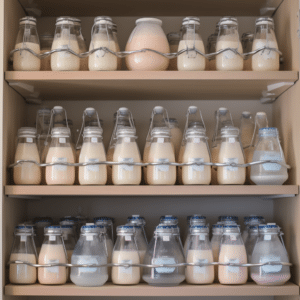
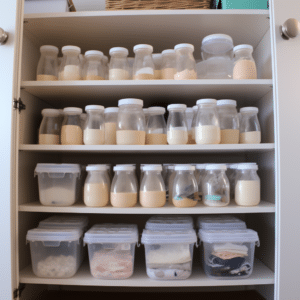
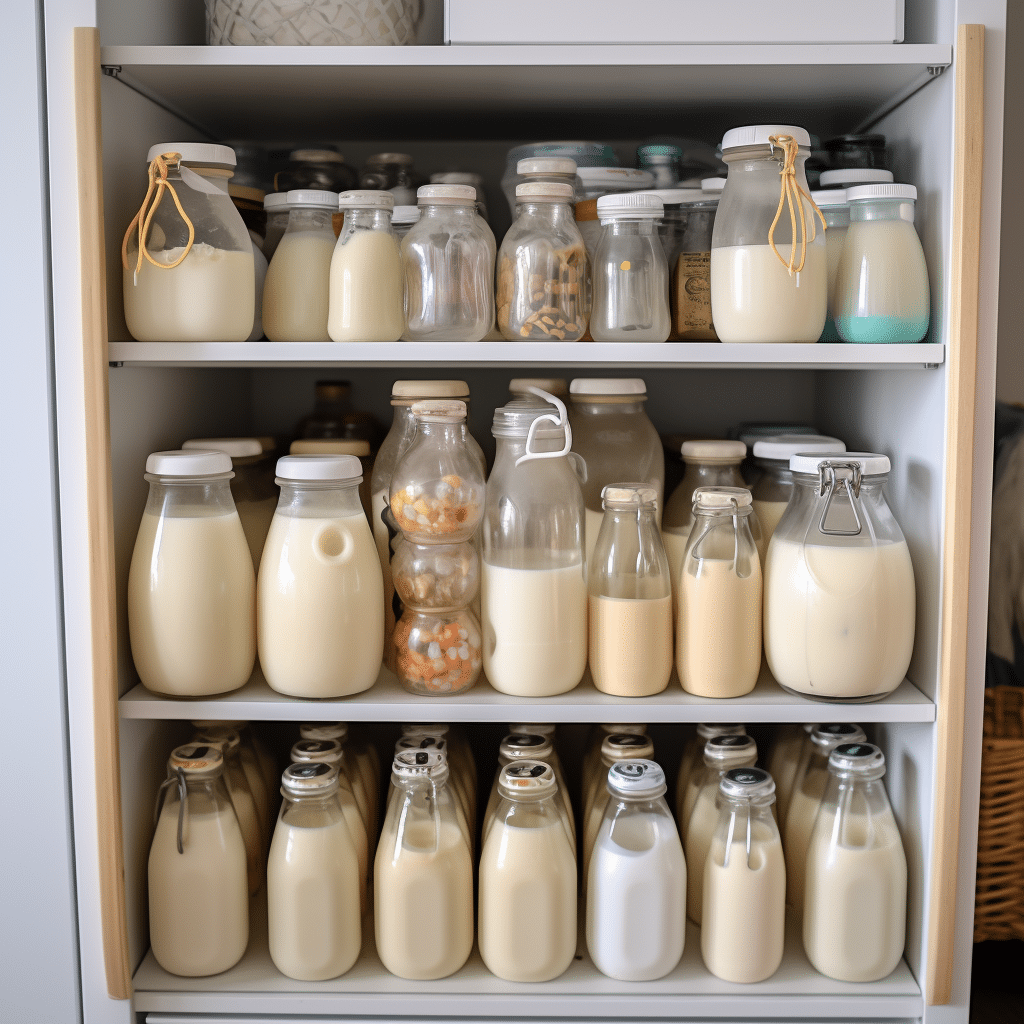
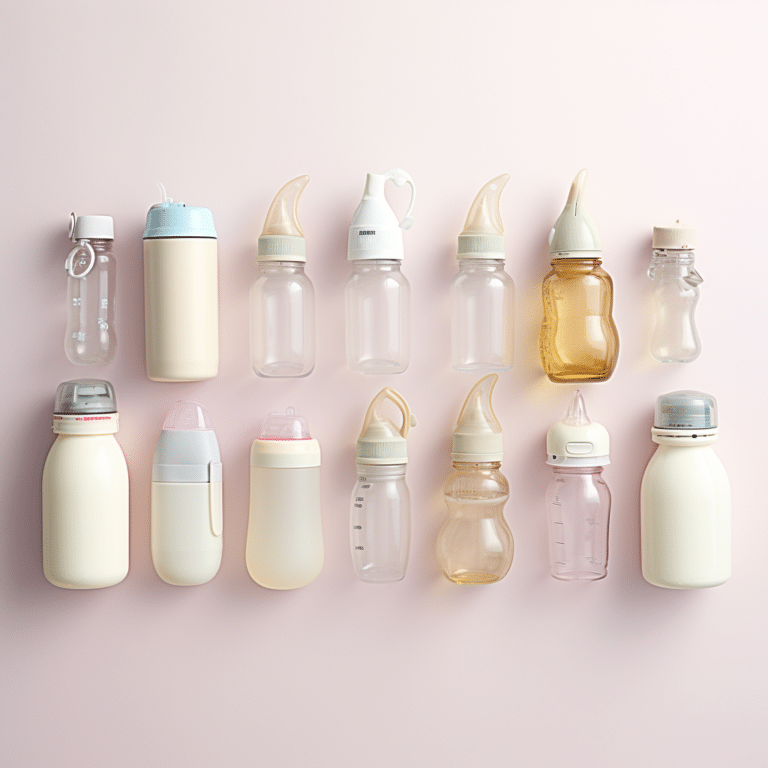
Once you’re done pumping milk, transfer it from the bottle to a breast milk storage bag. Your storage bag could be plastic bottles, glass bottles, or breast milk storage bags.
It’s crucial to know how much milk to put in the storage bag. Depending on the bag’s capacity and how much your baby feeds, decide on the ounces to put. Most milk bag manufacturers advise not to store more than 4-5 ounces of breast milk.
Labelling
Before putting the milk in the freezer, it’s essential to label it. Label the bag with the date you pumped, time (not compulsory), and quantity of milk it contains. You can decide to include your child’s name too. Doing so is crucial if the milk will be used in daycare.
Freezing
When freezing breast milk, lay the bags flat in the freezer so that they get thinner and become easier to store. Freezing milk by laying flat helps you maximize the freezer’s space. You can stack more milk compactly that way than in any other storage layout. Although some people freeze their milk by laying it on a cookie sheet, using a large Tupperware or a takeout container is also okay.
It’s recommended to store breast milk in BPA-free and a sterile bag that can be frozen and sealed. Maintaining consistent temperature during freezing and thawing is also crucial. Doing so prevents rapid temperature changes, leading to the growth of harmful bacteria.
Organizing Milk In The Freezer
Once your milk is frozen, it’s time to organize it and maximize freezer space. Stand your breast milk storage bags upright in a large zip-top gallon-sized plastic bag. Glass containers and re-use boxes are also great if you don’t have a gallon-sized plastic bag.
When standing milk in the plastic bag, take note of the date the milk was pumped and the quantity. This will help you organize your milk better. Depending on the plastic bag’s capacity, you can place all milk pumped in a week or a couple of days. Say, milk pumped from 10/5/2022 to 20/5/2022.
Stack the milk storage bricks in the gallon bag up/down/up/down. Most milk storage bags tend to contain more milk at the bottom than the top. So, stacking by alternating them in the up/down/up/down arrangement helps you fit more.
Next, label the bag with the date pumped and the date all milk should be used (use-by date). Doing so lets you know which bag to pull first. It’s also crucial to label the number of storage milk bags in the gallon bag.
What Happens If Your Freezer Becomes Full?
Sometimes you may have lots of milk bags that you run out of room in the freezer. What do you do in such a case? Well, there are a few options here.
You can borrow freezer space in your friend or other family member’s freezer. Or donate the extra milk to a milk bank. Lastly, you can opt to buy a new freezer.
How To Warm Frozen Breast Milk
Warming frozen breast milk requires a few skills. You can decide to thaw the milk, then warm it or thaw and warm it simultaneously. With the former choice, place the frozen milk in a container with cold water or the fridge. Placing the frozen milk in the fridge allows it to thaw slowly, so going for this option needs prior planning, like a day. Once the frozen milk has thawed, place it in a bottle warmer or a glass containing warm water and let it sit for about 7-10 minutes.
As for the latter option, place the frozen milk in a warm water container. The warm water will thaw the milk and warm it simultaneously. Feel free to use a bottle warmer but keep in mind that those take time. Sometimes 15-20 minutes for the process (thawing and warming) to be complete.

Conclusion
Freezing breast milk is one thing, but organizing the freezer to maximize space is another. To ensure you optimize your freezer’s space to its maximum capacity, freeze flat and compact milk storage bags up/down/up/down in a gallon-size plastic bag. This way, you’ll store more and have remaining space.


